 Save
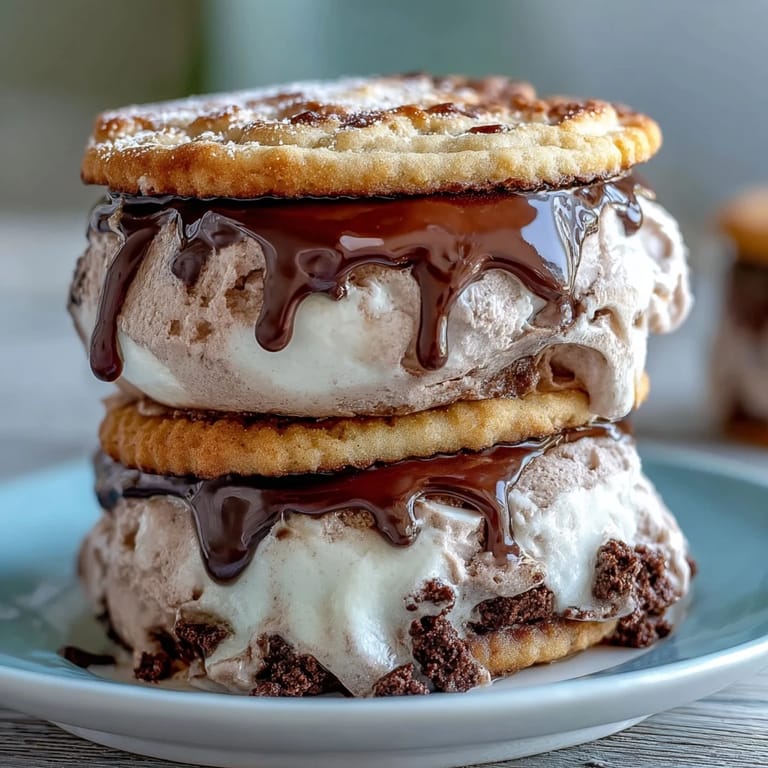
Save My kitchen was sweltering on a July afternoon when my roommate burst through the door with that signature Frappuccino cup, and I found myself thinking: why are we paying for these when I could make something infinitely better at home? That moment sparked an obsession with capturing that vanilla-espresso magic in frozen form, except between two dark, fudgy cookies instead of whipped cream. What started as a wild kitchen experiment became the dessert I now make whenever I want to impress people without spending hours on complicated techniques.
Last summer I made these for a backyard dinner party, and watching my neighbor take that first bite then immediately ask for the recipe was the kind of quiet victory that made the four-hour process feel entirely worth it. The combination of cold, creamy vanilla against that slightly crispy espresso cookie rim created this moment where everyone at the table just went silent, the way people do when something genuinely delights them.
Ingredients
- Unsalted butter (1 cup): Use the really good stuff here because these cookies are basically butter vehicles—softening it properly is half the battle for that fluffy dough.
- Brown sugar and granulated sugar (1 1/2 cups combined): The brown sugar brings moisture and richness while the white sugar helps the cookies spread and crisp at the edges.
- Eggs (2 large): Room temperature eggs mix in more smoothly and create a better texture than cold ones straight from the fridge.
- Vanilla extract (2 tsp): This is your backup vanilla flavor since the espresso is doing heavy lifting here.
- All-purpose flour (2 1/2 cups): Don't sift unless you love extra work—just measure and level off with a knife.
- Unsweetened cocoa powder (1/2 cup): This deepens the chocolate notes without adding sweetness, letting the espresso shine.
- Instant espresso powder (2 tbsp): This is non-negotiable—it's what makes people taste the frappuccino connection even if they can't quite name it.
- Baking soda (1 tsp) and salt (1/2 tsp): These aren't just supporting players; they balance sweetness and help the cookies rise and set correctly.
- Heavy cream (2 cups) and whole milk (1 cup): This ratio creates ice cream that's rich but not heavy, with body that holds up between cookies.
- Granulated sugar (3/4 cup): Don't skip dissolving this properly in the hot milk or you'll taste graininess in the finished ice cream.
- Vanilla bean (1 whole, split and seeded): Yes, real vanilla bean costs more than extract, but those little black specks matter both visually and in taste—this is where you can't compromise.
Tired of Takeout? 🥡
Get 10 meals you can make faster than delivery arrives. Seriously.
One email. No spam. Unsubscribe anytime.
Instructions
- Warm the milk base for ice cream:
- Combine milk, sugar, vanilla bean seeds and pod, and salt in a saucepan over medium heat, stirring occasionally until the sugar dissolves completely and steam rises from the surface. You're not boiling this—you just want it hot enough that the sugar vanishes and the vanilla flavors begin to open up.
- Cool and enrich the mixture:
- Remove from heat, fish out the vanilla pod, and stir in the heavy cream until fully combined. The whole mixture should smell intensely vanilla-forward now, which is your sign you're on the right track.
- Chill thoroughly:
- Refrigerate this base for at least two hours, preferably overnight—the colder it is before churning, the better texture you'll achieve.
- Churn to soft-serve consistency:
- Follow your ice cream maker's instructions, which usually means churning for 20-25 minutes until it reaches a soft-serve thickness. Immediately spread it into a parchment-lined 9x13-inch pan about 1 inch thick and freeze for at least two hours until completely firm.
- Preheat and prep for cookies:
- Set your oven to 350°F and line two baking sheets with parchment paper while you gather everything, because once you start mixing dough, you'll want to work steadily.
- Cream butter and sugars:
- Beat softened butter with brown sugar and granulated sugar for 3-4 minutes until the mixture is noticeably lighter in color and fluffy—this incorporates air that helps the cookies rise. You should be able to see the difference when you stop.
- Add eggs and vanilla:
- Beat in eggs one at a time, waiting until each is fully incorporated before adding the next, then add vanilla extract and mix until the dough looks smooth and emulsified.
- Combine dry ingredients:
- Whisk flour, cocoa powder, espresso powder, baking soda, and salt in a separate bowl so you don't overmix the dough when you combine everything.
- Bring it together gently:
- Add the dry mixture to the wet mixture and fold everything together just until no streaks of flour remain—overmixing toughens the cookies, and you want them fudgy.
- Roll between parchment sheets:
- Divide dough in half and roll each portion between two sheets of parchment paper to about 1/4-inch thickness, working on a level surface so your thickness stays consistent.
- Cut and transfer:
- Use a 3-inch round cutter to cut 16 cookies total (8 pairs), then carefully transfer them to your prepared baking sheets—they don't spread much, so spacing matters less than placement.
- Bake until set at edges:
- Bake for 10-12 minutes until the edges feel set when you gently touch them but the centers still feel slightly soft—they'll continue cooking from residual heat after removal. This is how you get that fudgy interior with crispy rims.
- Cool completely:
- Let cookies rest on the baking sheet for a few minutes, then transfer to a wire rack and let them cool all the way down—warm cookies will melt the ice cream instantly.
- Cut ice cream into rounds:
- Using the same 3-inch cutter you used for cookies, cut out 8 rounds from your frozen ice cream slab, working quickly and dipping the cutter in warm water between cuts to help it glide through.
- Assemble the sandwiches:
- Place each ice cream round between two cookies and press down gently so it holds together without squishing out the sides too much. Wrap each sandwich in parchment and freeze for at least an hour before serving.
 Save
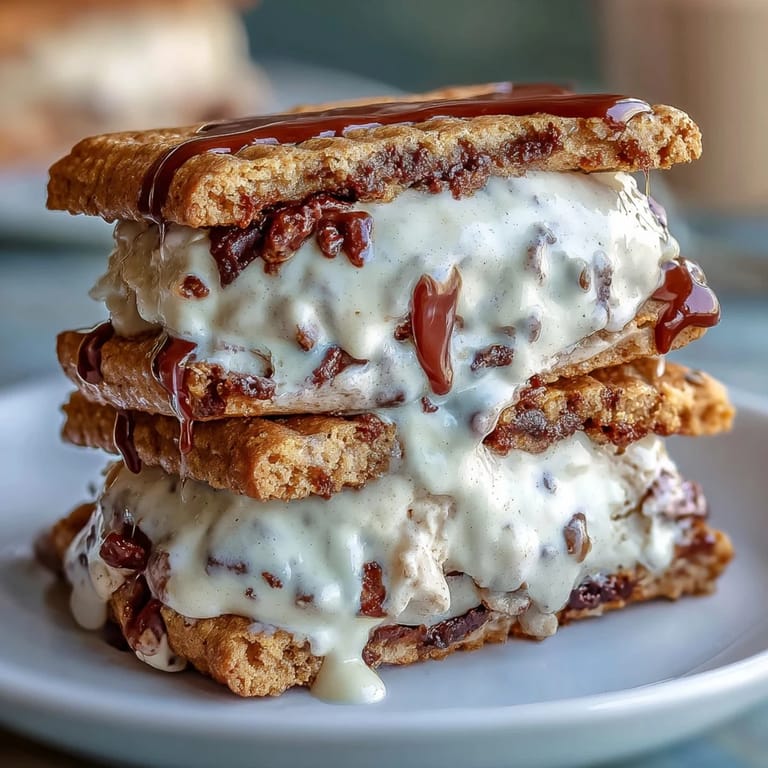
Save There's something about the moment when you bite through the cookie and hit that cold vanilla center that makes people slow down and actually taste what they're eating. My sister called these "fancy," but honestly they're just the combination of things we all already love, arranged in a way that makes them feel special.
The Espresso Factor
Instant espresso powder might seem like an optional ingredient, but it's genuinely the secret that transforms these from basic chocolate cookies into something that tastes like a Frappuccino. The espresso doesn't make them taste like coffee—it deepens the chocolate notes and creates this complex bitterness that balances the sweetness of the vanilla ice cream perfectly. When you bite through the cookie to the creamy center, your palate experiences a progression from dark and sophisticated to sweet and cool, which is exactly what makes these addictive.
Handling the Vanilla Bean
If you've never split a vanilla bean before, you're in for a small kitchen revelation—the inside is filled with thousands of tiny seeds that look like caviar and smell unbelievably fragrant. Split the bean lengthwise with a sharp knife, then scrape the seeds out with the back of the knife blade, letting them fall right into your warm milk mixture. The pod itself goes in too because it releases more flavor as it steeps, and you fish it out later before churning.
Making These Your Own
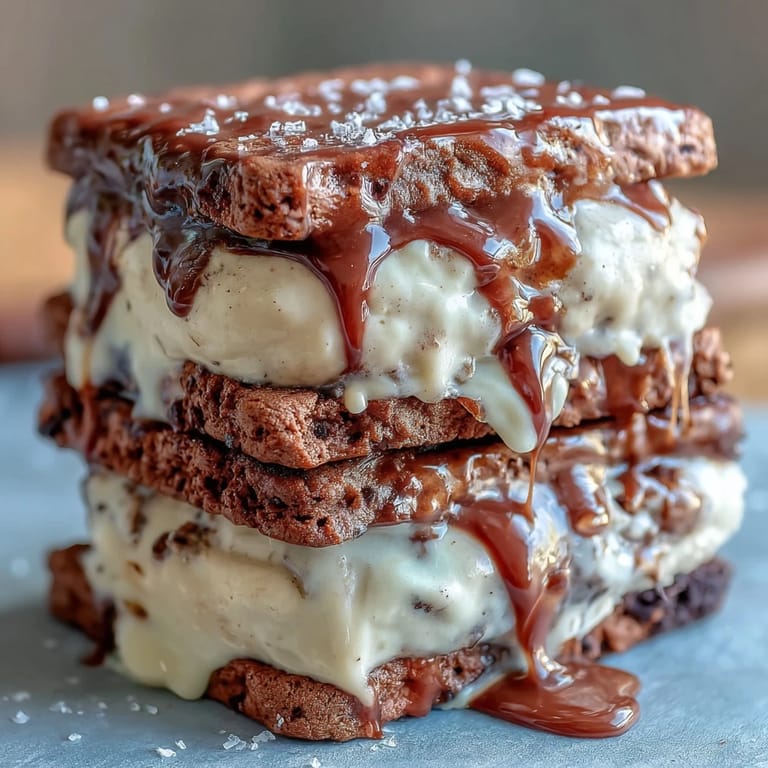
The beauty of this recipe is that once you nail the technique, you can play with the variations in ways that keep surprising you. Roll the sandwich edges in crushed espresso beans or mini chocolate chips before that final freeze for extra texture and visual appeal. Store-bought vanilla bean ice cream works if you're short on time, though homemade tastes noticeably better—the choice depends on how much patience you have that day.
- For a mocha twist, add 1 tablespoon of cocoa powder to your ice cream base before churning.
- If you don't own an ice cream maker, freeze your base in a shallow dish and stir it every 30 minutes until thick and creamy, which takes longer but absolutely works.
- Keep these wrapped and frozen for up to two weeks, so you can make a batch when you have time and serve them whenever you need an impressive dessert.
 Save
Save These sandwiches are the kind of treat that feels like you've done something impressive when really you've just organized a few good techniques into one beautiful bite. Make them once and you'll understand why they're worth the planning.
Recipe FAQs
- → How do I make the vanilla bean mixture for the ice cream?
Heat milk, sugar, vanilla bean seeds and pod, and salt over medium heat until sugar dissolves and mixture steams. Remove from heat before stirring in heavy cream and chilling thoroughly.
- → What gives the cookies their espresso flavor?
The cookies combine cocoa powder and instant espresso powder, providing a rich coffee aroma and bittersweet chocolate notes that balance the ice cream’s sweetness.
- → Can I prepare the ice cream without a machine?
Yes, freeze the ice cream base in a shallow dish, stirring every 30 minutes until it forms a creamy texture, mimicking churning effects.
- → What’s the best way to assemble the sandwiches for freezing?
Cut the firm ice cream slab into rounds then gently sandwich each between two cookies. Wrap tightly in parchment before freezing to preserve texture and prevent freezer burn.
- → Any tips for added texture or crunch?
Roll sandwich edges in mini chocolate chips or crushed espresso beans before freezing to add a delightful crunch and extra flavor complexity.
- → How long should I chill the ice cream base before churning?
The mixture should be refrigerated for at least 2 hours to become very cold, which helps achieve a smooth, creamy texture when churned.