 Save
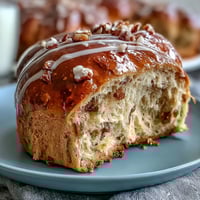
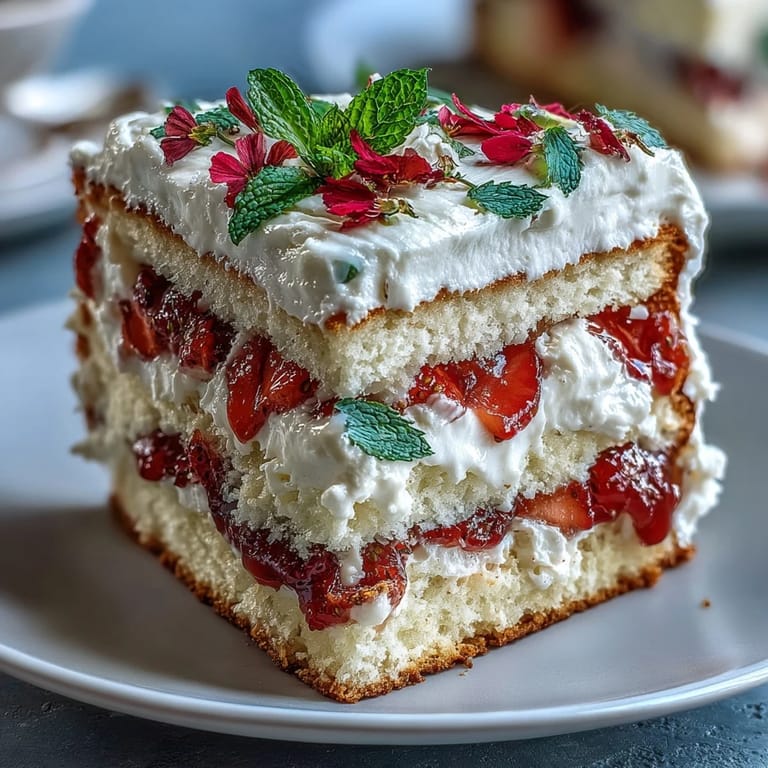
Save The first time I made this naked strawberry cake, the kitchen was filled with sunlight and the scent of whipped cream practically stole the show. I remember the gentle swish of the mixer, punctuated by the occasional strawberry escaping from my slicing board. There’s a certain thrill when you work with peak-season berries—their sweetness becomes the flavor anchor of the whole dessert. Honestly, the naked cake style was born of necessity; I had no time for intricate icing and found its understated elegance unexpectedly charming. Sometimes, the simplest presentation lets spring’s colors and flavors really shine.
One rainy afternoon, my neighbor came over for tea and we decided to bake together as the spring storm rolled outside. There was laughter over lopsided layers and a whispered debate about whether to add mint, making the entire process feel less like work and more like a kitchen adventure. When we finally sliced the cake, her face lit up as if we’d just unveiled a secret garden. It’s these easy-going afternoons that turn a dessert into a memory. The cake tasted even better with idle conversation and muddy footprints by the door.
Ingredients
- All-purpose flour: Using sifted flour gives the sponge its delicate texture—make sure to measure accurately for lightness.
- Granulated sugar: Creaming it with butter until pale helps set up the cake’s crumb and balances berry tartness.
- Unsalted butter: Softened butter means easier mixing and a fluffy structure; don’t rush this step.
- Large eggs: Room temperature eggs incorporate better and give the cake a tender lift.
- Whole milk: Just a splash ensures moistness throughout the layers.
- Baking powder: Essentials for rise—be sure it’s fresh for best results.
- Vanilla extract: Adds subtle fragrance and rounds out flavors; pure extract is worth it here.
- Salt: Balances sweetness, so don’t skip even the small amount.
- Heavy whipping cream: Cold cream whips faster and holds its shape for billowy layers.
- Powdered sugar: Sweetens the whipped cream without grittiness; sift for smoothness.
- Fresh strawberries: Hulled and sliced right before layering keeps them juicy and vibrant.
- Edible flowers or mint leaves: Optional, but they add a whimsical touch to the finished cake.
Tired of Takeout? 🥡
Get 10 meals you can make faster than delivery arrives. Seriously.
One email. No spam. Unsubscribe anytime.
Instructions
- Prepare the pans:
- Grease and line two 8-inch cake pans with parchment so the sponges release cleanly and don’t stick. Press the paper gently to fit every curve.
- Cream butter and sugar:
- Beat together until fluffy and pale—listen for the soft whir of your mixer and watch the mixture turn creamy.
- Add eggs and vanilla:
- Crack in each egg one at a time, mixing well after each. The batter will look silky, then add vanilla for warmth.
- Combine dry ingredients:
- Whisk flour, baking powder, and salt in a separate bowl. This step aerates the flour for a lighter cake.
- Build the batter:
- Add dry mixture to the butter mix in thirds, alternating with milk and ending with flour. Stir until just combined—overmixing will make it dense.
- Fill and bake:
- Spoon batter evenly into pans and smooth the tops. Bake until golden and a toothpick comes out clean, filling the kitchen with sweet aromas.
- Cool completely:
- Allow cakes to rest in pans for 10 minutes, then transfer to wire racks. Wait patiently—warm cakes melt cream.
- Whip the cream:
- Beat cream, powdered sugar, and vanilla until you see stiff peaks form. The texture should be airy and spreadable.
- Trim and layer cakes:
- Use a serrated knife to even out any domes—it helps the layers stack neatly. Place one layer on your plate for assembly.
- Spread cream and berries:
- Cover the first layer with half the whipped cream, then scatter half the strawberries. Press down gently so everything settles.
- Add second layer:
- Place cake on top, repeat with remaining cream and strawberries for a lush finish. If using mint or flowers, tuck them in just before serving.
- Chill or serve:
- You can chill the cake for up to two hours, or slice right away—each option makes a slightly different experience.
 Save
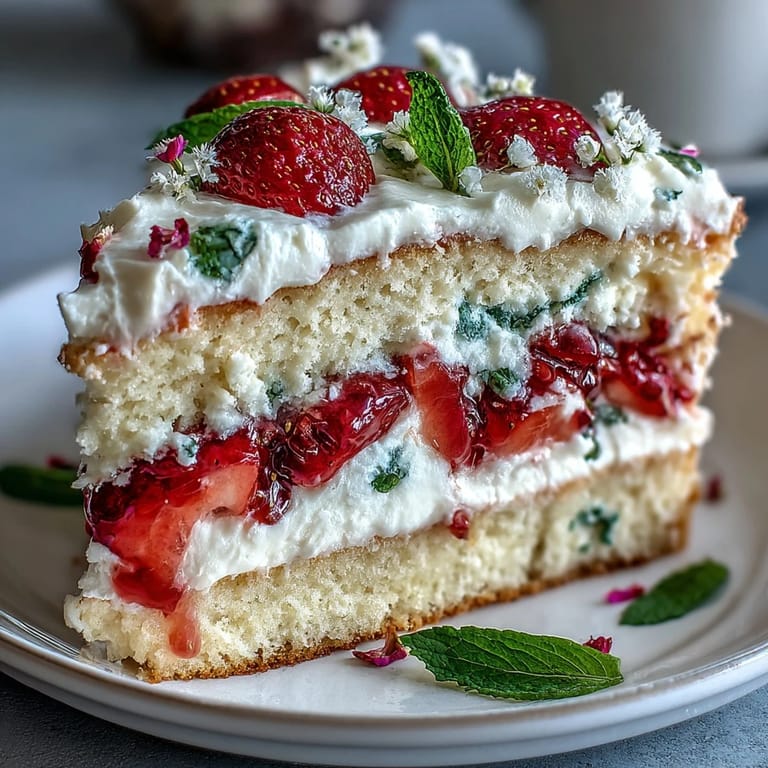
Save When my little cousin proudly presented this cake at her spring birthday, the whole family hovered, waiting for the first slice. She insisted on extra mint and dotted flowers across the top herself. Every plate was scraped clean, and people lingered in the kitchen just to stare at the leftover crumbs. That’s when I realized the cake had quietly become part of our celebratory rituals. Sometimes simple flavors carry the most love.
How to Keep Your Sponge Moist
Brushing a little strawberry syrup or even berry liqueur onto cooled cake layers can be a game changer. The sponge soaks it up for a hint of fruit flavor, and the result feels lush but not soggy. I usually do this with a pastry brush and a steady hand, aiming for a light gloss rather than saturation. It’s a tiny step that makes each bite taste brighter. If you skip it, the cake is still lovely—but the berries won’t sing quite as loudly.
Whipped Cream That Holds Its Shape
Chilling your whisk and bowl before whipping the cream keeps it billowy and stable. No need to fuss with stabilizers; cold ingredients and patience are your best allies. Watch closely near the end—stop at stiff peaks or risk crossing into butter territory. If the cream starts to look grainy, it’s gone a bit too far—add a splash of cream and gently whisk to rescue it. And definitely taste as you go: sometimes a drop more vanilla transforms the batch.
Quick Assembly Tricks for Busy Days
When time is tight, I place both cakes in the fridge to cool faster, then cut with a chilled serrated knife for tidy layers. Slicing strawberries just before stacking keeps them juicy and prevents sogginess, and I skip elaborate piped cream for rustic swoops. If you’re assembling ahead, wait to decorate with flowers and mint until right before serving.
- A spatula dipped in hot water smooths whipped cream beautifully.
- A cake turntable simplifies layering, but a big plate works fine.
- Keep berries dry for the brightest color—water dulls them quickly.
 Save
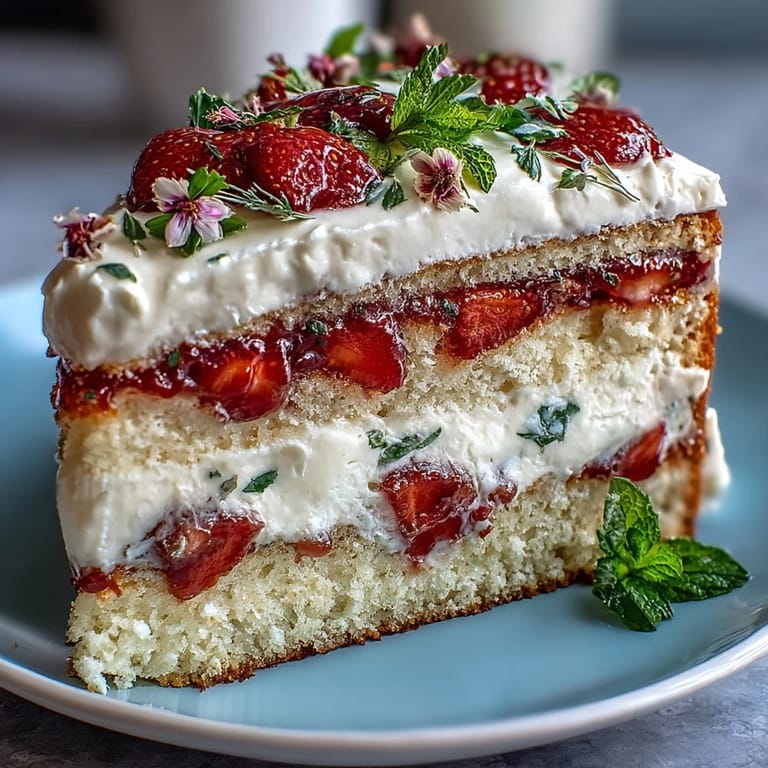
Save If you make this cake, don’t forget to pause and enjoy that first slice—with friends or solo, it’s spring on a plate. Keep the process playful and you’ll find joy in every layer.
Recipe FAQs
- → How do I achieve a light sponge texture?
Beat butter and sugar thoroughly, add eggs one at a time, and mix gently after adding flour to keep the sponge tender.
- → Can I use other berries instead of strawberries?
Yes, raspberries or blueberries can be substituted for strawberries for a different flavor or color combination.
- → How should I decorate the cake for presentation?
Arrange sliced strawberries on top and finish with edible flowers or mint leaves for a fresh spring look.
- → Is it possible to prepare the sponge in advance?
The sponge can be baked a day ahead and stored tightly wrapped. Assemble with cream and berries just before serving.
- → How long will this dessert stay fresh?
Best enjoyed the day it’s assembled; refrigeration for up to 2 hours keeps cream stable and sponge moist.
- → Can I make this treat suitable for a vegetarian diet?
Yes, all listed ingredients fit vegetarian guidelines. Check decorations for any animal-derived components.